It has been a long time since I had anything worth posting. I finally got motivated to work on some minis again when my copy of
In Her Majesty's Name, plus three teams: The Society of Thule (Prussian occultists), Lord Curr's Company (British adventurers) and the Scotland Yard Company (Scotland Yard and associates). I had a hard time deciding who to paint first, but the Scotland Yarders came out on top, so here they are:
 |
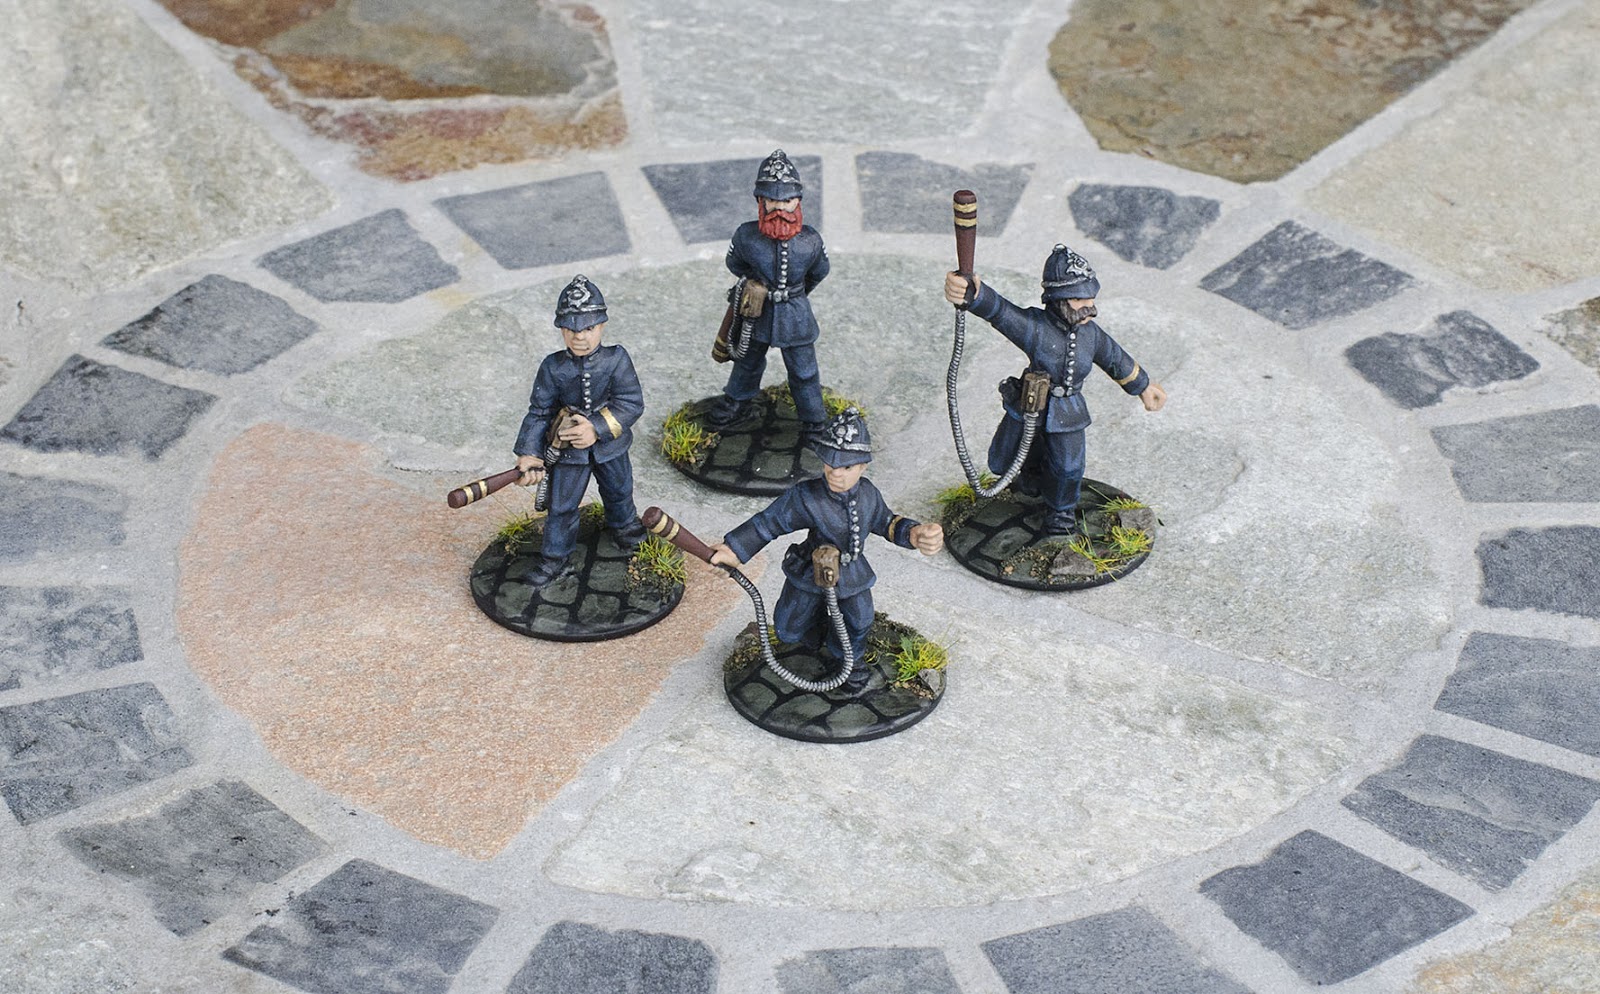
| Scotland Yard constables. |
 |
| Scotland Yard constables. |
 |
| Scotland Yard Special Branch. |
 |
| Scotland Yard Special Branch. |
 |
| The Consulting Detective and the Good Doctor. |
 |
| The Consulting Detective and the Good Doctor. |
 |
| The Sergeant and Chief Inspector. |
 |
| The Sergeant and Chief Inspector. |
 |
| The whole gang. |
 |
| The whole gang. |
The miniatures have lots of character and they were a lot of fun to paint. I feel like I'm still getting better at pinstripes and tartans.
The figures had fairly prominent mould lines, so they required quite a bit of filing before they were ready for the paint. After filing and gluing on the (very fragile) power cables for English All-Electric Truncheons, I epoxied them to washers and then evened the bases out with plaster. I think the cobbles might have looked better if I had carved the grout lines into the bases, but a) the pewter bases of the figures come right up to the top level of the bases, so I would have had to cut lines into the metal as well as plaster, and b) I already spent a lot of time on the bases as they are, and I would rather be painting figures than bases. I think they look all right as they are, and it's definitely possible I could have made them look a lot worse if I tried to carve out the bases.
One thing I did on these guys that I don't normally do is paint eyes and pupils. I think painting the eyes on miniatures looks goofy 99% of the time, but these turned out okay. I think eyes on miniatures look better the smaller they are, and I went back and overpainted the upper and lower lids with my flesh base colour so the eyes are narrow slits rather than big saucer googly-eyes.
Next up: The Society of Thule.