I had my regular opponent Bryan over for a game of In Her Majesty's Name last night. Bryan brought his British, and I wanted to try using my Prussians.
The Prussian list in the rulebooks seems mostly balanced to me - the force has some strong points, but it has some serious soft spots as well. One is Dr. Kobalt, who is essentially useless, but necessary because he carries around an Arc Generator. Also, because of the way the Revivificators work, you have four figures (the zombies) who can only enter the fight after their associated figures (the Jaegers) have been killed. So you're paying for 8 figures, but you only ever get to use 4 of them at any point in time.
A set of errata for the game came out shortly after the rulebook was released which re-costed the Prussians significantly, increasing the points value of the Jaegers. This means that I had the choice of either not using all my figures (super lame) or re-costing the figures so that they were weaker. I went with the latter choice and had a bunch of games where the Prussians felt really useless - it's a small list in figure-count terms already, and reducing the capabilities of those figures even more was pretty much the end of the Prussians as a viable force.
To make a long story short, I decided to play with the Prussians as they are written in the original rulebook to see how I felt about them, balance-wise, compared to the erratacized version. Look below to see the results of our fight!
We rolled for a random scenario and came up with "Bad Jack", so it was a race again to see who could beat up Bad Jack and return his corpse to their base for further study!
 |
| The Society of Thule emerges from their corner of the battlefield and begins advancing towards the ruined bridge and Bad Jack. |
 |
| Across the city, the Brits begin making their way towards the bridge also. |
 |
| The British captain leads the way. He doubtless feels secure enough, with the company's doctor standing nearby! |
 |
| Von Stroheim and his silent bodyguard Krieg head up the centre, while two Jaegers and Dr. Kobalt (hidden behind the wall) go right. |
 |
| The British, with their superior marksmanship, take up firing positions in a ruined building. |
 |
| The captain places himself in Jack's view, using himself as bait to lure the mutant out for a fight. |
 |
| Bad Jack emerges from the shadows... is that man-meat he smells? |
 |
| British riflemen charge down the Brits' right flank to set up a crossfire on Jack and the Prussians. |
 |
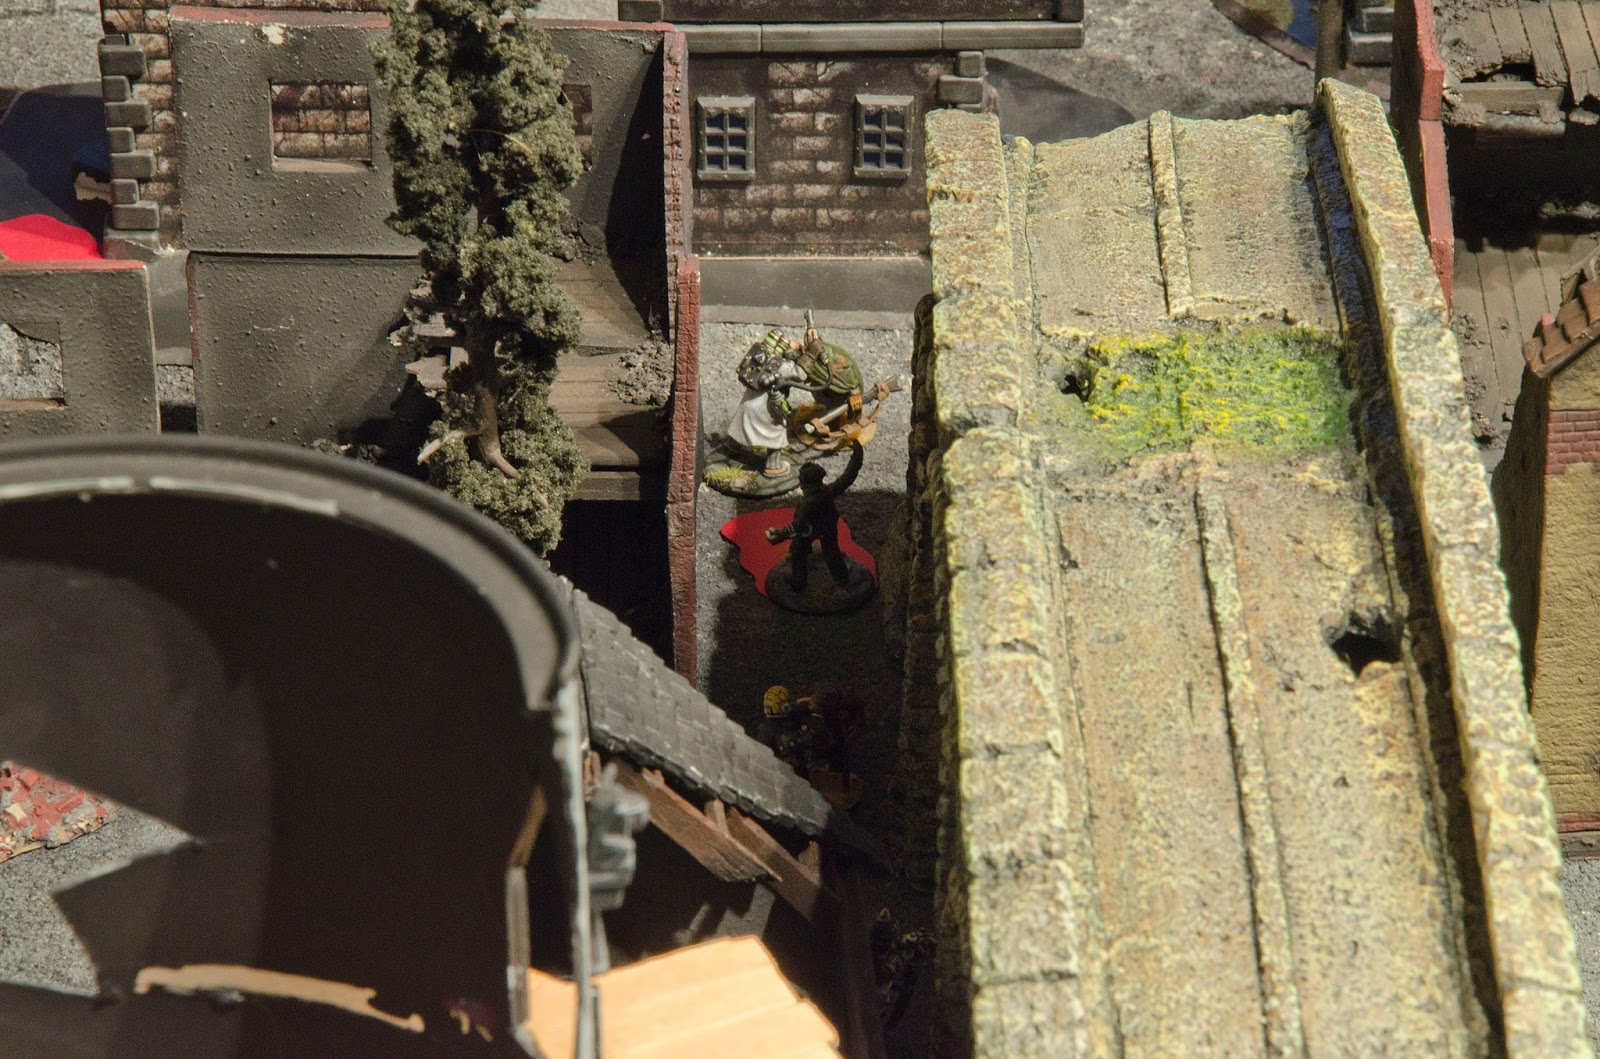
| Dr. Kobalt runs to join the two Jaegers on the Prussian right, but stops, astonished, at the sight of Bad Jack loping out from beneath the tunnel to savage the Prussian scout! |
 |
| Von Stroheim and Krieg rush to aid the beleaguered Jager. |
 |
| The British captain's gambit of luring out Bad Jack having failed, the Brits fall back on Plan B: shoot everybody from their elevated positions. |
 |
| More Brits on the Prussian left manoeuvre into firing positions. |
 |
| Bad Jack charges up onto a piece of ruins but the Jaeger flees, leaving a clear field of fire for Von Stroheim and Krieg. |
 |
| The British marksmen continue to rain fire down on Prussian and mutant alike. |
 |
| One Jaeger falls to British fire, only to rise again as one of the invincible* Tod-Truppen! *invincibility not guaranteed |
 |
| Dr. Kobalt, true to form, gets shot in the face early and dies like a sucker. With the Arc Generator he carries no longer mobile, the Prussian right flank has to hunker down somewhat, lest they fall out of range of the generator and render their revivificators useless. |
 |
| The British Captain, having climbed up onto the bridge, descends on the Prussian right side, only to get swarmed by two Jaegers and a Tod-Trupper. |
 |
| Bad Jack has now worked his way firmly into the Prussian line, so the Prussians surround him and begin to rain blows down on his iron skull. |
 |
| The British Sergeant takes up a sniper's position atop the ruined bridge. |
 |
| Another Brit soldier takes pot-shots from the Prussian left. |
 |
| The British doctor, having already saved the life of one downed soldier, stays close to the rest. |
 |
| Bad Jack bursts free of the encircling Prussians and leaps upon one of the Tod-Truppen, but his bestial strength has no effect on that which is already dead! |
 |
| Fire from one of the Jaegers at last finds its mark and downs a British soldier. "No Move" indeed - a fitting, if somewhat ironic, epitaph. |
 |
| The British captain succumbs to the attacks of the Jaegers. |
 |
| The British marksmen, having seen the effects of Bad Jack's savagery upon the Prussians, opt for a conservative, fire-from-a-safe-distance strategy. |
 |
| Von Stroheim recalls all the fighters from their positions to surround and bludgeon Bad Jack, while the Brits continue to fire into the fight from the ruined house, the bridge, and other safe locations. |
 |
| The Prussians lay into the mutant with saber, bayonet, and club-like fist, but Bad Jack shrugs off every effort. |
 |
| After several minutes of fruitless stabbing and smashing, the Prussians break off fighting Bad Jack and rush the British line, hoping to bring Jack along with them. Jack obliges and attacks a British soldier, while Von Stroheim fells another. |
 |
| One Tod-Trupper climbs the bridge to engage the British sergeant, but is swiftly chopped to bits. |
 |
| A trail of blood and destruction leads from where the Prussians first fought Bad Jack to the final melee at the British line! |
 |
| Bad Jack breaks off from Von Stroheim and the Tod-Trupper who had attacked him and chases down the British doctor, who flees back towards the British base. |
 |
| A second Tod-Trupper climbs the bridge and manages to dispatch the British sergeant. |
 |
| At the end of the day, the Prussians emerge victorious, but at high cost: only Von Stroheim and two Tod-Truppen remain alive (if you can call that alive!). On the British side, only the good doctor and one rifleman emerge from the carnage. |
So, the Prussians handled themselves very well I think. Bryan thinks (and I agree) that they may still be a little too tough, since they were able to withstand Bad Jack's attacks, as well as British shooting, for the whole game, and come out of it with enough troops alive to win on victory points. It's hard to make a clear distinction in a scenario game like this, though, when there are so many factors besides troop stats that go into deciding a winner.