Showing posts with label terrain. Show all posts

Monday, 29 September 2014

Saga: Pictish Village!

It has been a loooong time since my last update, but I haven't been idle. I have been thinking about building myself a "permanent" board, i.e. one where all the terrain is built-in, rather than placed depending on the game, for ages. This summer I decided to finally get about it and planned out a 2x2 Pictish village for my 15mm Saga games.

This board has been in progress since mid-summer, working on it a bit here and a bit there. I had to learn some new techniques to build it - pouring an epoxy-resin river, for one - and I'm pretty happy with the results.

There are still a few things that need to be done before it's totally finished. I have more trees to make (what you see here is about half of what I have), the small buildings need doors, and I'd like to put some gaffer tape around the edges to make it look a little cleaner. It's play-able at this point, though, so I'm going to bring it to the Trumpeter club meeting this Friday.

I have a ton of new miniatures for the game as well, but photos of them will have to wait until a later date!


Sunday, 23 March 2014

Quar Reinforcements and Terrain

It's just a few weeks until Trumpeter Salute, so I've been working my butt off to get some Quar ready for the scenario I have planned. I already had a few painted, but I needed more to fill out the forces of both sides.

I still love these little guys... every one has its own personality and they look great when painted up.


For the Partisans, I got the 2nd partisan squad, plus the very-quarrish Partisan Wagon. I was especially excited to have some Quar cavalry added to my forces. I have a full squad of Crusader cavalry as well, but they aren't going to be part of the Salute scenario I have planned, so they haven't been painted yet.


For the Crusaders, I added a few specialist teams: a Heavy Shotgun Team, a Cook, a Sniper, plus the (as yet unpainted) cavalry squad and Squirrel Handler.


Finally, I have been building some Quarrish terrain. The environment I have in mind is a pseudo-old-west, Oddworld: Stranger's Wrath sort of area, with desert and rock outcroppings.

Since it's the Quar, I built some large hive-like structures, for a termite farm. These started life as coconut-shaped containers for coconut water drinks:


Also, the only trees and forest templates I have are temperate green, so I made some more Quarrish, desert-like tree clusters. I found some sheets of embossed felt that make for cool forest templates, and I painted up some bare pine armatures to go on them:


I also have a few rocky outcroppings, originally intended for aquariums, plus the latex desert mat I got for my Afghanistan games, and a few more bits to fill out my table. I'll take some more photos of the full table once it's set up!

Saturday, 13 October 2012

Market Day II

I had to scramble a bit this week to finish up the market stalls I built for my Afghanistan games. I'm pretty happy with the result.


The wares for sale are various seeds and grains bought from the bulk section of the supermarket, plus a sampling of different seeds given to me by Bryan. The rug merchant is selling little paper printouts of various Afghan rugs I found online. The bits of machinery are extra bits and bobs from the 1/35th scale plastic Tiger tank I'm building.

Gamecraft Afghan buildings in progress

I have finally completed my full set of Gamecraft buildings for my Afghanistan table. I had to do a lot of experimenting with techniques and materials before I found a solution I liked. I think the result looks good, but each building required a fair bit of messy work, so I'm glad I'm done. The stucco gel is not much fun to work with - it's really tacky, and the sand gets everywhere.

My process was as follows:

1. First coat of Liquitex Stucco textured acrylic gel - this doesn't have to be clean or even or nice, it's just there to provide a gritty surface for the following coat.

2. Clean out the corners, windows and doors of excess globs of paint.

3. Let it dry thoroughly.

4. Second coat of Liquitex, with a focus on applying enough to get all the corners a bit rounded. The walls themselves look better if the gel is applied a bit unevenly.

5. With a very wet brush, I smoothed out the walls and roofs. I don't try to get them perfectly flat, just smoothing down the parts that stick up, so it looks like a mud wall.

6. Clean out the corners and apertures again.

7. Let it dry thoroughly again.

8. Paint - I used cheap craft acrylics, watered down and with a bit of Pledge floor polish added. The stucco gel I used is white, and I only did one coat of paint, so the buildings came out very light.

9. Wash - I used a thin black / brown wash over the whole building, which I then blotted with crumpled up paper towel, which gave a slightly mottled look to the walls, while leaving the corners and recesses fairly dark.

With several different stages to do, I had a bit of an assembly line going with 3-5 buildings at each stage of the process.

The mosque was a special case, because it came with a dome. The dome was a coarse foam half-sphere, so I gave it several coats of plaster, smoothed with a wet finger, to give it an even enough surface for painting.

In-progress photos:

First coat applied.

First coat applied.

Second coat applied.

Second coat after smoothing.

For photos of the completed, painted buildings, see my next post!

Monday, 24 September 2012

Market Day

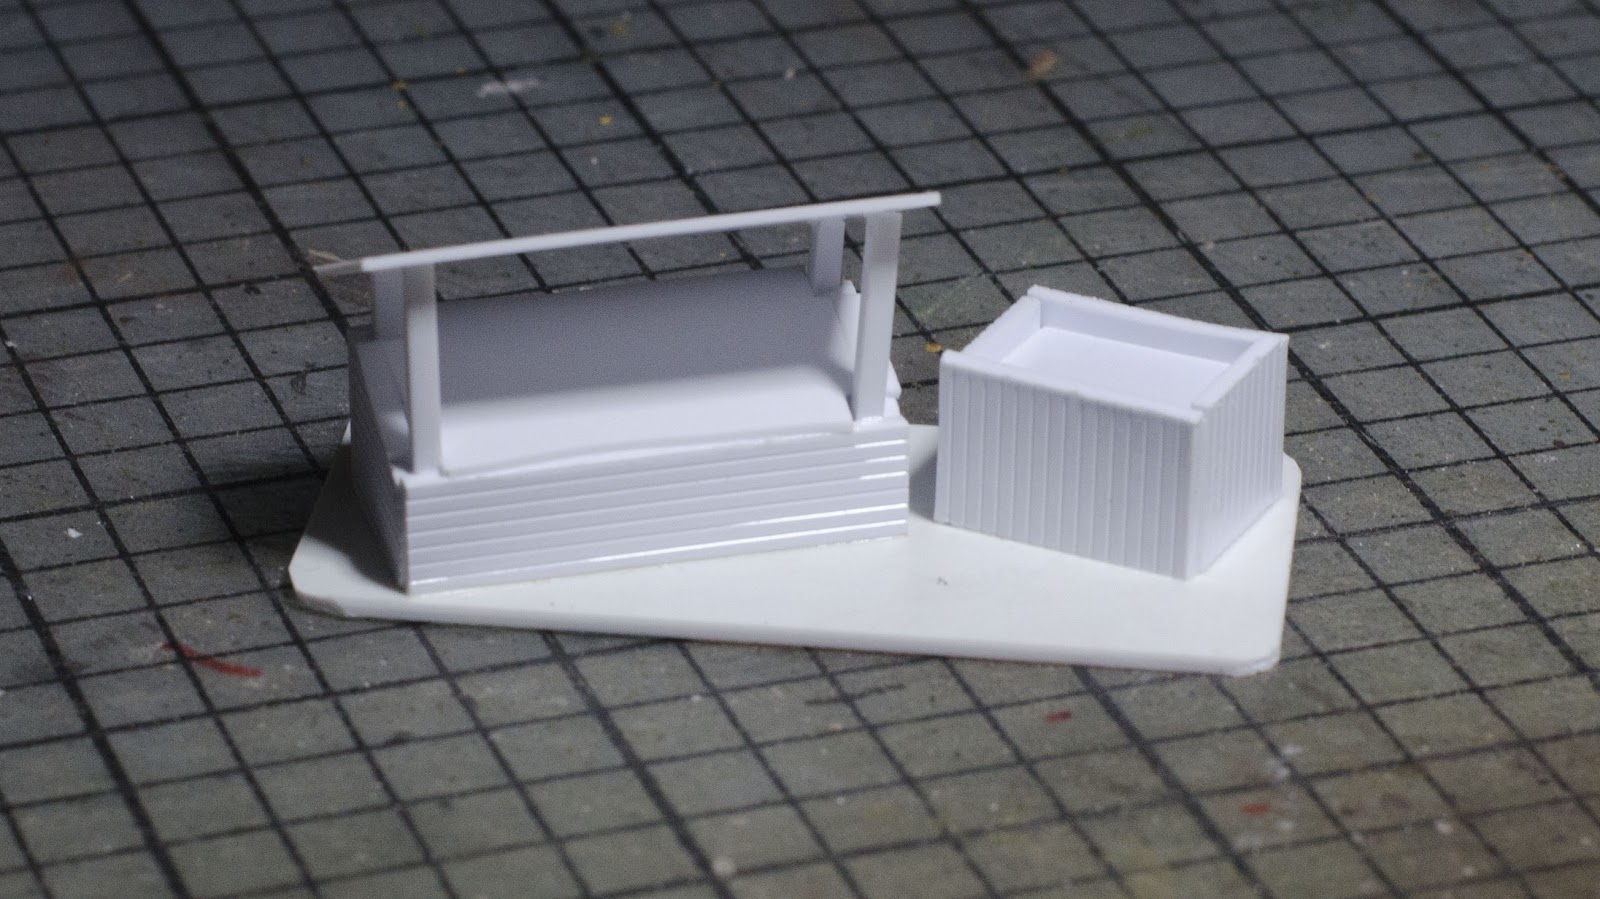
One of the scenarios in the Operation Enduring Freedom book for FoF takes place in and around an Afghan market. I spent the weekend in a cabin in the woods, and after hiking all day I was able to get in some hobby time building these guys. They are all scaled for my 15mm figures and made of styrene. I didn't build these to a plan, I just improvised with each one.

I built them for FoF, but, being Afghan stalls, they should suit for anything from Dark Ages forward. Which is convenient, what with my having just finished a bunch of Dark Ages figures.

These are all works in progress. Obviously they still need paint, but I'm going to load them up with wares for sale as well.


The whole set:

A produce stall and a bin:

Multiple bins:

Some rugs on the ground, with a tent to give some cover:

A rug merchant's stall (rugs still to come):

Not sure what's going to go here, but there will be wares hanging on that backboard, with more in the bins and on the table:

This one was a brainstorm: a barbecue stall! I'm going to add some gratings on top, and maybe some meat grilling:

A shelf, some carpets, and a table:

Tables:

Three produce stalls:

Friday, 10 August 2012

More troops for Afghanada

More additions to my Afghanada forces:

Taliban commanders
These figures are decent, though the guy in the front center was missing his AK barrel. I had to drill it and replace it with a piece of wire.

Taliban with AK-47s
These guys are the same package as I painted before, and the complaints about the posing and detail I had with the last bunch hold true for this bunch as well.

More Taliban with AK-47s

Same as above, rear view

Talib sniper teams

Canadians with under-slung grenade launchers


And finally, one of my new Gamecraft Miniatures laser-cut wood buildings.
I ordered 20 or so buildings, everything from tiny hovels to large-ish compounds and a mosque. This is the only one I have opened, and I think it looks great! It's simple, but I have to spackle the whole thing so any surface detail would be lost anyway. The fit is great and I think it will be really sturdy and durable once it's finished. Lots more photos of these to come, I think.

Friday, 29 June 2012

Stronghold Terrain: Normandy Stable review

One bit of scenery that keeps cropping up in all of the scenarios I want to play from the Skirmish Campaigns book I'm working through is a Normandy-style barn. I had been looking for a while to find a model I liked, with no luck, and had essentially given up when a new kit from Stronghold Terrain popped up on The Miniatures Page. The photo looked decent, but the company is in Germany and I wasn't super keen on ordering something from that far away. Still, having a proper barn would be better than just using a random, not-at-all-barnlike building from my Mordheim box, so I went for it.

The kit arrived in 7 pieces: a base, 4 walls, and a 2-part roof. The base and walls are cast in what they call "hard stone plaster." It is a heavy, strong, almost cement-like material that feels like stone and is a bit porous, with really nice detail and no casting flaws that I could find. The roof is fairly thick and strong resin, with no casting flaws either. It is detailed on five sides, with the underside just smooth, but nobody is going to look at the underside anyway so who cares.

I should add that the stable arrived with a hand-written thank you note and a little baggie of barrels and crates for my "bitsbox." It was a really nice touch.

The stable assembled easily, though gluing the two pieces of the roof together at the correct angle took a bit of patience. The walls didn't quite fit perfectly... there's a small gap visible in the corner of the last photo. I don't know if that's a result of the model or my building skills, though.

I primed it with black spray paint and got to work with my regular craft acrylics:


I decided to experiment a bit and tried to get a gray, weathered effect out of the wall boards, rather than the usual brown that I usually paint wood. It felt wrong painting the wood gray, but after a couple of washes I think it turned out really well. There is a lot of detail on the walls, with cracked plaster, bricks, and even a little shrub molded in. The windows and doors are molded in, without actual apertures, but if I was really keen it wouldn't take much to drill / saw / file them out. For my purposes I'm happy to leave them as-is.

Likewise, there is no internal detail in the stable, but again I don't really care about that. It wouldn't take much to build individual stables out of coffee stir sticks if you needed that.

Overall, I am really happy with the Stronghold stable. Good detail, nice materials, a very robust-feeling final product, and great service.

Sunday, 13 May 2012

Something Different: District 9

This is a project that has been sitting on my shelf for quite a long time. This one isn't strictly game-related, except in so far as the company that makes the models is a game company.

A few years ago the company I work at provided the bulk of the visual effects for District 9. It isn't the largest film we've had a piece of, but it was the first big film where we were the main vfx company working on it. There are still a lot of D9 posters and propaganda around the studio, and the people working there now who were around when we were doing D9 are all fans of the movie and the director.

So, when I saw that Ground Zero Games was manufacturing pseudo-prawns for sci-fi games, I decided I needed to buy some and build a little District 9 diorama for my desk at work. And here it is:


The models are all very nice, though I had to add a lot of plastic card junk to the building to get it looking as crappy as I wanted. I tried some new techniques on this model, mainly with the weathering. I used a hair-spray trick to get the paint to look chipped, and had to redo it once because I used too much hair spray and paint the first time around. It wasn't wasted work, though... the random pieces of yellow paint on the corrugated metal shack are leftovers from that attempt, and I think they look pretty cool.

The company where I work is now working on the same director's next film, so maybe in a few years I'll build a model based on that one...?

Friday, 27 April 2012

Barbed Wire

This was a quick little project to prepare some defences for my 28mm table:


These are paint stirrers (free from the hardware store), with 1.5" nails for posts (a few pennies each...?), and old discarded window screen cut into individual strings for the wire. This is just a representative sample, I have a bunch more.

It would be easy to go crazy with more interwoven wire, and it would look a bit better for it, but I didn't have the time or the patience. Stringing one wire past another is super fiddly, because all of those little cross-bits act like velcro on each other, and the wire doesn't slide over itself at all. Also, looking at some illustrations of actual WW2 German wire defences, I could have modelled them a lot more horizontal than vertical... similar criss-crossing shapes, but laid out a foot or so above the ground, to make it really tough to walk through. Maybe next time... I'm a long, long way from running out of window screen!

Pretty easy and relatively quick, and I think the window screen works really well for barbed wire. I used the same materials for my 15mm FoW defences, but I think it's more suited to this scale.

Tuesday, 10 April 2012

German Big Guns

I went a bit nuts taking photos of these guys, but they look pretty inspiring set up in the trenches:


I have thought about adding some camo netting to the poles sticking up around the gun pits, but I'm worried about it causing playability problems. It's one of the many, many items on my to-do list, though.

My next post will be something very different, I think...